Recently I ran into situations where have to build a developer enviorment that needs active directory federation services [adfs] running on windows server 2016 [currently in technical preview 4, hence w2k16-tp4,]. I am intentionally avoiding term adfs ‘v4’ which is really tempting but its about time to move away from these versions. From now on you can simply refer to it as adfs running on w2k16. So, what I really needed is something that can be up and running in fastest way possible. Its really a pure developer setup focusing on saving time on installation and configuration so no server hardening, least privilege accounts or all those things that are absolutely mandatory for non developer environments like production!
OK, with that out of the way couple of things: Firstly, I decided to focus on following two pieces in this post and this will get you the up and running the adfs instance on the w2k16.
- Active directory domain services [adds]
- Active directory federation services [adfs]
I also did installed visual studio 2015 and sql server 204 for claims injection but not covering that in this post. Sql server does not like to be installed on domain controller so have to tame that beast to work and my advice would be not do that unless you really have to do it.
[NOTE: I have tried these steps on windows server 2016 technical preview 4. There is no guarantee that they will also work as-is/at all on any future previews or rtm. Also these instructions and scripts are provided without any warranty and are not for production usage]
Choosing the Platform
All you need to get started is w2k16-tp4 installed and running. I decided to use azure vm to install and host it. You can do it too by going here and follow the instructions. Now, by no means you have to use azure vm so feel free to choose you preferred method to install it either on-premises or in the cloud.
You now should be looking at login screen before you move to next step. Also, everything we do from this point onwards will be using the account with admin privileges.
Installing the Active Directory Domain Services
Adfs needs domain controller so we will first start by installing active directory domain services [adds] by using the powershell script below:
$domainName = "contoso.com"
$password = "*********"
$securePassword = ConvertTo-SecureString $password -AsPlainText -Force

Install-WindowsFeature -Name AD-Domain-Services -IncludeManagementTools
Install-ADDSForest -DomainName $domainName -SafeModeAdministratorPassword $securePassword -Force
The above script is straight forward but in case this is your first time installing adds lets take a look at what’s going on. You start by setting up a domain name and the choice of name is really up to you. Next, the password is provided. I will advice choosing a pass phrase which you can remember and should is better than “p@ssw0rd”. Secure string is constructed as needed by cmdlet install-addsforest that does the work of installing adds on the server. The -force switch is there to make sure cmdlet ignore the warnings.
The above script takes few minutes to completely install the domain controller and operating system will be restarted afterwords. Next, lets install the adfs.
Installing the Active Directory Federation Services
Before we jump into installation of adfs we need to procure a certificate as adfs needs it as part of installation and also to function. Creation of certificate is something that needs to be taken care of upfront as shown by script below.
$fdqn =(Get-WmiObject win32_computersystem).DNSHostName+"."+(Get-WmiObject win32_computersystem).Domain
$password = ConvertTo-SecureString -String "********" -Force –AsPlainText
$filename = "C:\$fdqn.pfx"

$selfSignedCert = New-SelfSignedCertificate -certstorelocation cert:\localmachine\my -dnsname  $fdqn
$certThumbprint = $selfSignedCert.Thumbprint
Export-PfxCertificate -cert cert:\localMachine\my\$certThumbprint —Password $password -FilePath $filename

#optional - Adding cert to trusted root will help stop browser complaining about self signed cert being not from trusted certificate authority.Just for the record you should never do this setting in non dev environments.

$pfx = new-object System.Security.Cryptography.X509Certificates.X509Certificate2
$pfx.import($filename,$password,"Exportable,PersistKeySet")
$store = new-object System.Security.Cryptography.X509Certificates.X509Store([System.Security.Cryptography.X509Certificates.StoreName]::Root,"localmachine")
$store.open("MaxAllowed")
$store.add($pfx)
$store.close()
The fdqn variable is set by using two wmi cmdlets to get the computer name and domain name and then concatenate them with “.” to give us the fully qualified domain name e.g. w2k16-machine.contoso.com which then used for creating a new self signed certificate by the cmdlet new-selfsignedcertificate. From technical standpoint its not a absolute must to use fdqn and you can provide any valid string for the certificate name but this does make the script bit more reusable in my view.
The password is needed for the next cmdlet export-pfxcertificate that export the certificate to the filesystem. You should provide a pass phrase that you remember for future use. Finally, we export the certificate in .pfx format on the file system. The lines 11-16 are optional but recommended [dev environment only] to avoid browser warnings related to self signed certificates. Basically we are taking the self signed certificate and add it to trusted root certification authorities on local machine.
We are now ready for adfs to be setup. The install-windowsfeature cmdlet is used with adfs-fedeation as the name of the feature to be installed. This will begin the adfs install and typically it takes several minutes to complete. Next, import the adfs module to get the full set of cmdlets needed for further configuration of adfs.
The install-adfsfarm is the cmdlet that actually configure the adfs and requiers following parameters:
- Certificate thumbprint: Provide it with the thumbprint from self signed certificate created in the previous step.
- Federation service name: This should match the cn [common name] in the certificate. Self signed cert created earlier has fdqn as common name.
- ServiceAccountCredential: This is the domain account that run the adfs service. You will use the same admin account you are using so far. Again, admin account should never be used beyond developer envriomrenit setup of adfs.
Install-WindowsFeature -IncludeManagementTools -Name ADFS-Federation

Import-Module ADFS

$user  = "$env:USERDOMAIN\$env:USERNAME"
$password = ConvertTo-SecureString –String "********" –AsPlainText -Force
$credential = New-Object –TypeName System.Management.Automation.PSCredential –ArgumentList $user, $password

Install-AdfsFarm -CertificateThumbprint $certThumbprint -FederationServiceName $fqdn  -ServiceAccountCredential $credential
One last step is that you must check to see if spn [service principal name] is setup properly for the account running adfs. This step can be automated but for now providing instructions to do it manually. Should able to do it under a minute.
- Open cmd prompt and type adsiedit.msc
- On the adsi edit console right click and choose connect to and then press ok
- Expand the nodes until you see cn=users
- Select the user account you choose to install the adfs
- Right click the user account and select properties
- Scroll on the attribute editor till you see servicePrincipalName
- Click Edit
- You should see the http/{fdqn} listed there and if its not present then add it by using the value to add text box. Remember fdqn is what you been using so far and there is only single backslash “/” and not double “//”
If everything goes well you should have a working adfs environment ready!
Testing
From cmd prompt launch internet explorer [not using edge as it doesn’t like to be launched by admin user process]
cmd /K "%ProgramFiles%\Internet Explorer\iexplore.exe"
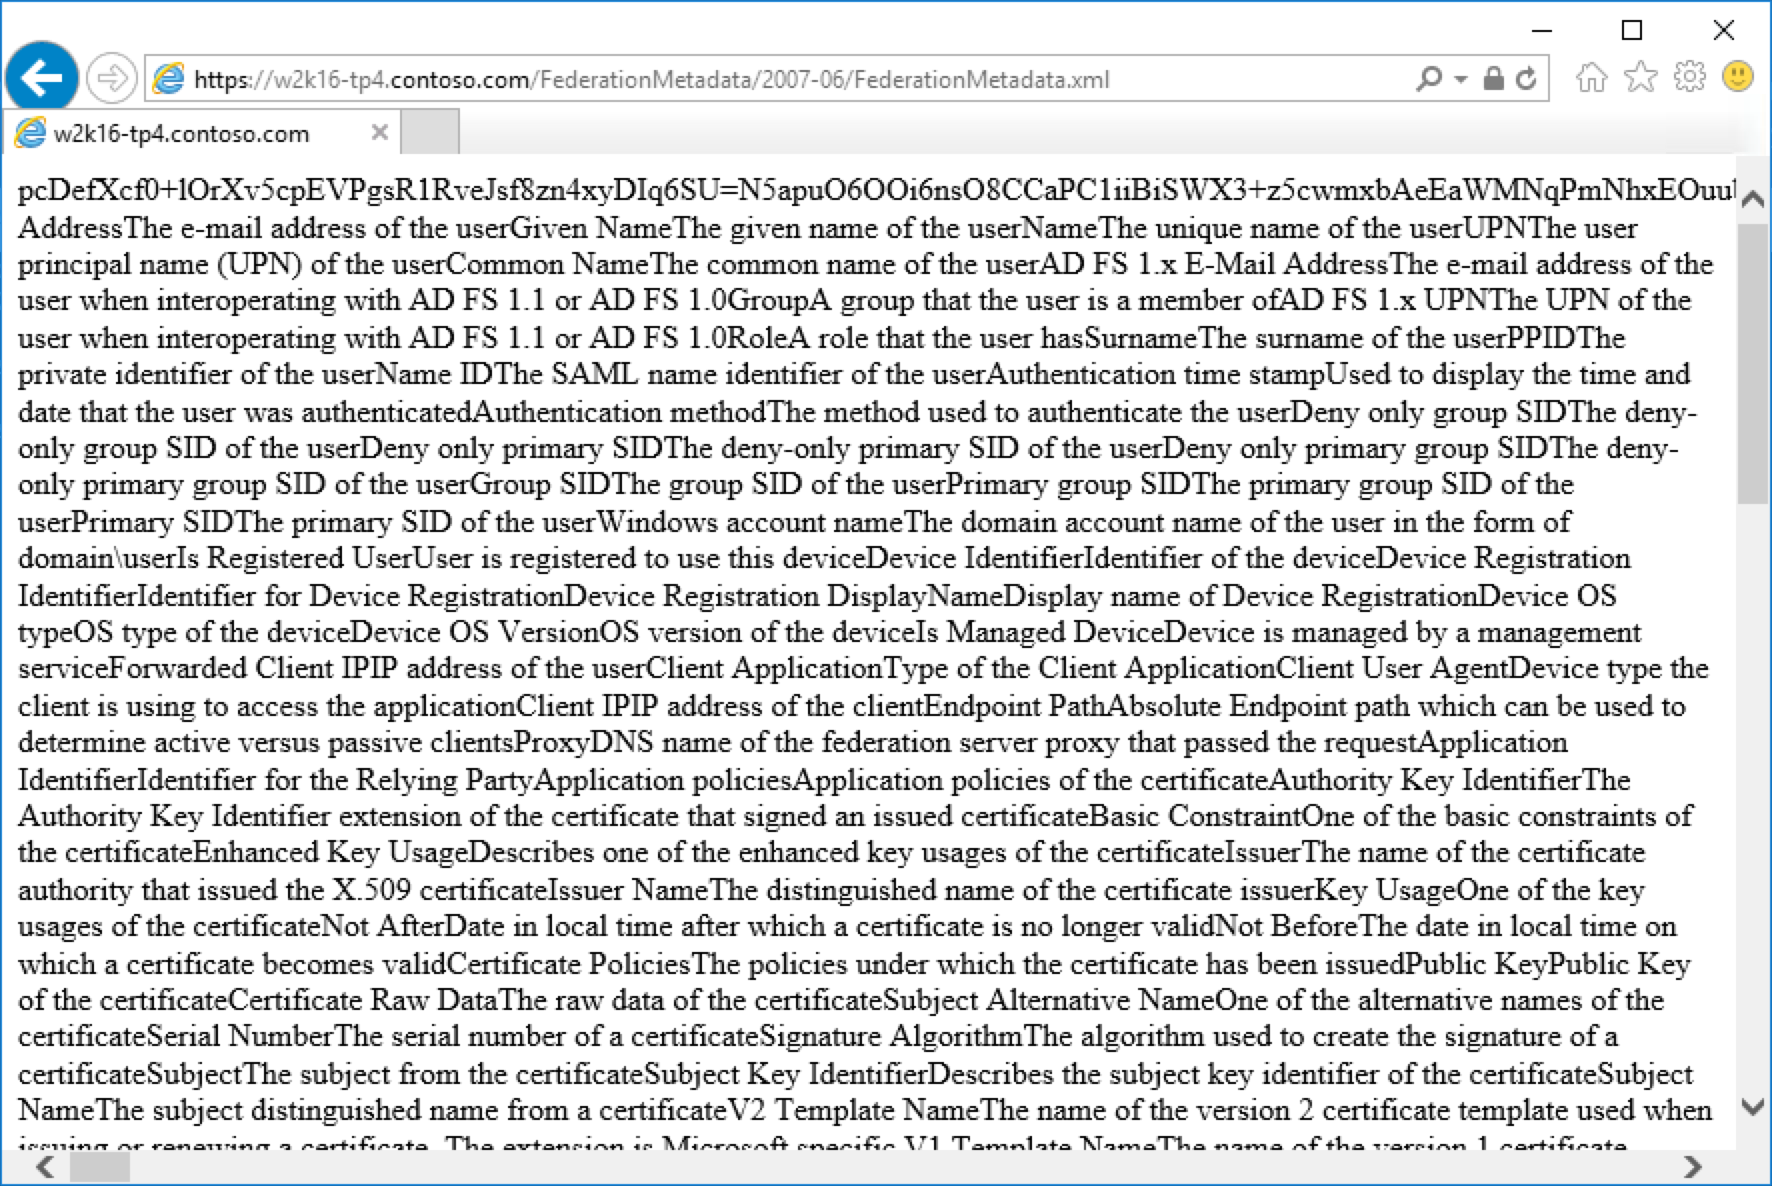
Open the federation metadata by using the url:
https://{fdqn}/FederationMetadata/2007-06/FederationMetadata.xml
You need to replace the {fdqn} with that of your machine and if you’re following through fdqn variable in the script above can also give you that in case you want to get it via scripting.
You should now see the browser window displaying the xml [ignore the formatting] similar to the one shown in the screen shot. You may want to click on the image to see it in its full resolution.
Concluding Remarks
You should now be running adfs farm on a single machine. From here you can go further by installing visual studio, sql server etc. One caveat with sql server though is that it does not like to be installed on domain controller for many very valid/legitimate reasons. I did tried it so to have everything on a single virtual machine [azure d2 type vm: 14 gb ram + 2 cores + w2k16-tp4 + adfs + sql server 2014 + visual studio 2015] and its does work out fine but have to do some minor tweaks for sql to work . I do think though that sql on a separate machine may be better idea in general just to play nicely with the product even in the dev environment where you do want complete freedom.
Also on a side note if you’re using azure vm then virtual machine extensions provides you an option to run the above scripts at time of vm creation [or at any other stage of vm life cycle] so making it super easy to have fully working vm with everything including adfs ready as soon as you create a new vm . That is perhaps a good topic for a future post.

1 Response
[…] http://www.razibinrais.com/dev-install-adfs-windows-2016/ […]